 Teleprompter Studio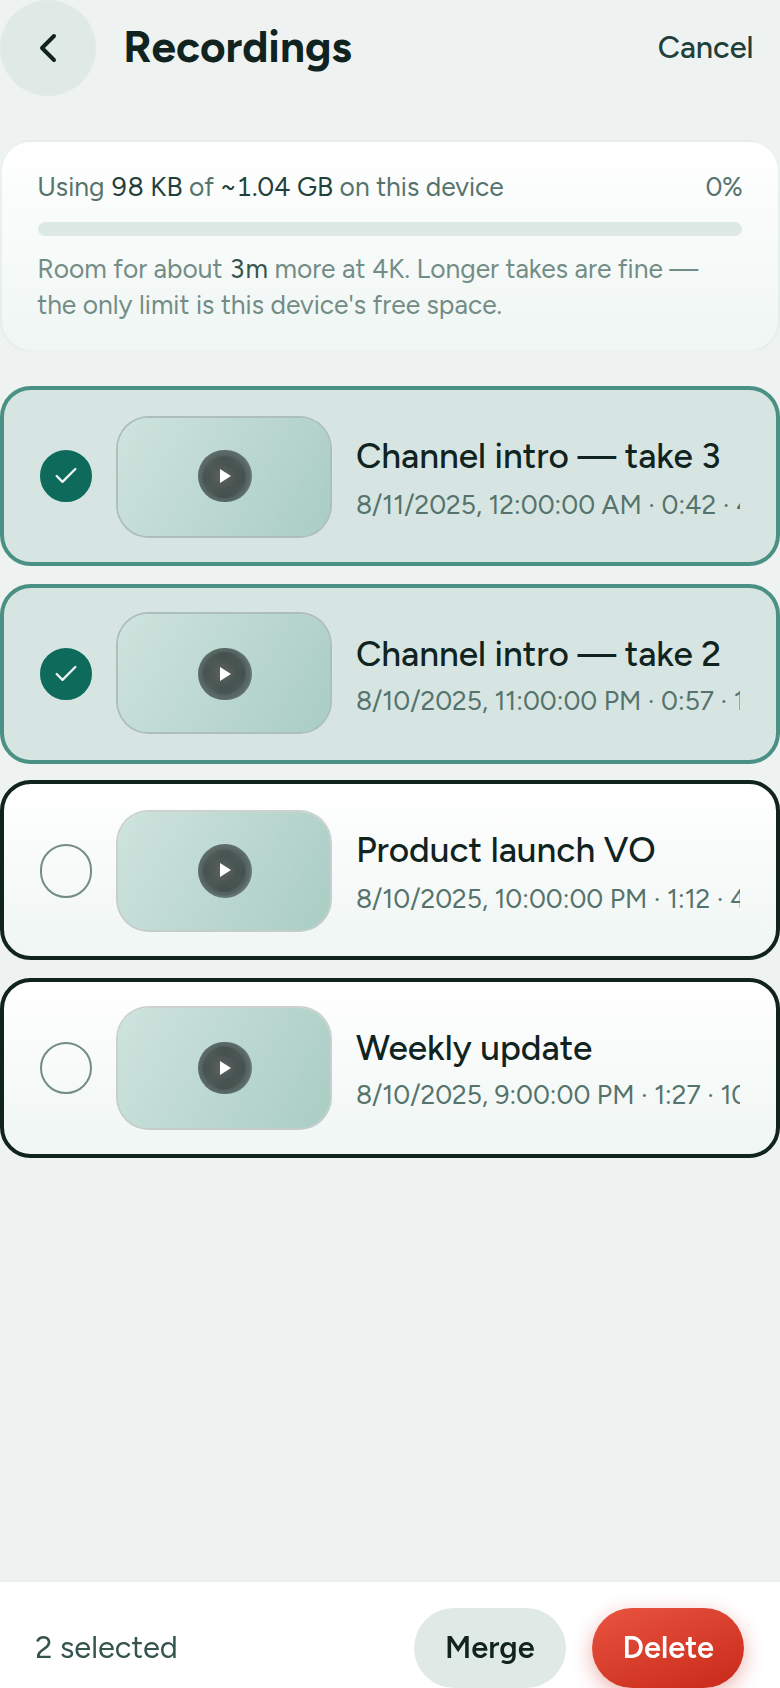
Where takes live
Recordings are stored on your device (in the browser’s local storage for media), never uploaded. A take is saved the moment you stop. The storage meter at the top of the Recordings screen shows how much space you’re using and roughly how much recording time you have left — the only real limit is your device’s free space.
Play, rename, delete
Tap a take to open the pop-up player; swipe left or right to move between takes. Each take also lists the script it came from, its date, length, quality and size. Use the ⋮ menu (or a long-press / right-click) to rename or delete a single take. A script’s own takes are also listed on its editor screen.
Cast to another screen
While a take is open, tap the cast button to send it to a nearby display — a Chromecast or smart TV (via the browser’s casting) or an Apple TV / AirPlay screen on Apple devices. The button only appears when your browser and network offer a target. Great for reviewing a take on the big screen.
Choosing your microphone & watching levels
In the recorder’s settings you can pick which microphone to record from — handy when you have a lavalier or USB mic plugged in. A live level meter shows your input as you talk (one bar for a mono mic, left/right for a stereo one); it’s also shown down the right edge while you record, so you can catch a mic that’s too quiet or clipping into the red before you commit a take.
Send a take to your editor (Pro)
Recordings stay on your device, but with Pro you can send a copy into a real editor. Open a take and tap Send to share it through your phone’s share sheet (CapCut, Descript, Drive…), save it as MP4 for Premiere Pro (which can’t import the WebM that Android/Chrome record), or export the script as a timed transcript (.srt/.vtt) and a marker sheet of your cue and pause beats. It all runs on your device — nothing is uploaded.
Multi-select: bulk delete & merge
Tap Select at the top of the Recordings screen (or “Select” in a take’s menu) to enter selection mode. Tick any number of takes, then use the bar at the bottom:
- Delete — remove all the selected takes at once.
- Merge — join two or more takes into a single new recording, in the order shown. Merging re-encodes the clips on your device, so it runs for about as long as the clips play — keep the screen open until it finishes. Your originals are kept; the merge is saved as a new take.
Keeping recordings safe
Because takes are on-device, clearing your browser’s site data (or uninstalling the app) removes them. Save anything important elsewhere. Recorded video isn’t part of cross-device sync — only your scripts, folders and settings sync on Pro (see Free vs Pro & sync).
Next: Getting started · Formatting & cues · Free vs Pro & sync